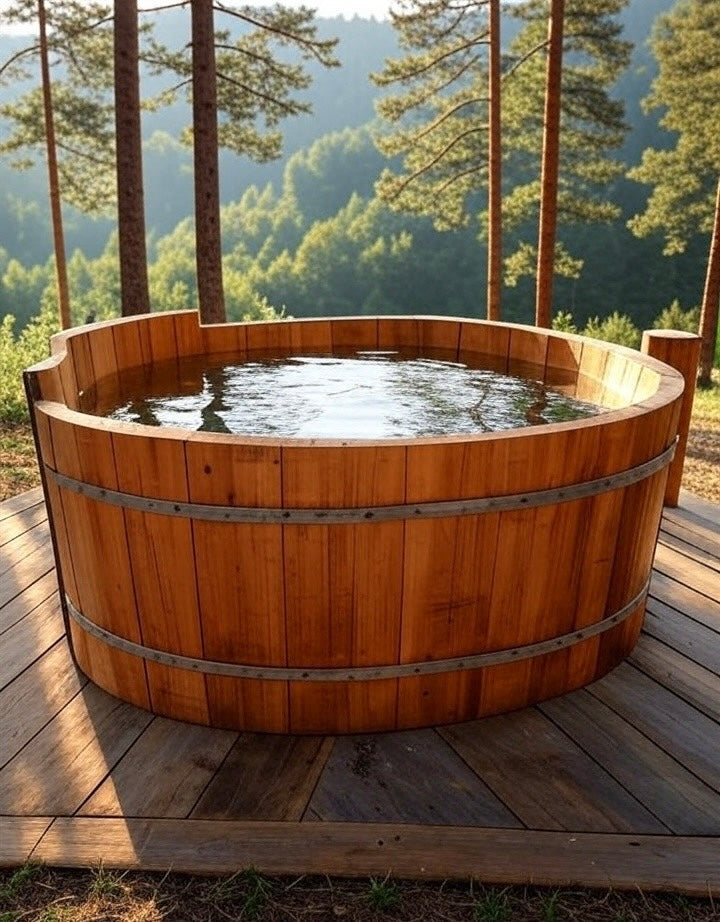
Short answer: Yes—you can absolutely build your own Cold Plunge! Whether you want an Ice Bath Tub in the garden or a sleek Cold Plunge Tub indoors, this guide shows you how to create your own chill zone at home. Affordable, customisable and properly cool.

2. Deciding If a DIY Cold Plunge is Right for You
2.1 Assessing the Pros, Cons, and Personal Commitment
2.1.1 Cost Savings vs. Required Time and Effort
Building your own plunge can save a lot of money.
However, it demands time, planning and some DIY skills.
You'll need to source materials and manage regular upkeep.
It’s worth weighing these factors carefully.
2.1.2 Benefits of Customisation vs. Potential Complexity
DIY means you can choose size, style and placement.
It’s perfect for tailoring to your space and needs.
But more features often mean more planning and work.
Know your limits before committing.
2.1.3 Understanding Ongoing Maintenance and Potential Issues
Homemade plunges require frequent cleaning.
Algae and bacteria can build up if neglected.
Leaks, electrical safety and water quality need constant checks.
Be prepared for the work involved.
3. Popular DIY Cold Plunge Builds: Methods and Materials
3.1 Common DIY Approaches: From Simple Tubs to Freezer Conversions
3.1.1 Stock Tanks, Inflatable Tubs, and Barrels: Low-Cost Entry Points
These are budget-friendly and widely available.
Great for quick setups with minimal tools.
Just add ice and water for a simple plunge.
Ideal for beginners wanting to try it out cheaply.
3.1.2 Repurposing a Chest Freezer: A Popular Insulated Option
A chest freezer offers reliable cold and insulation.
It holds low temperatures for days with less ice.
Requires good sealing, drainage, and GFCI protection.
Best for enthusiasts wanting near-commercial results.
3.1.3 Overview of Necessary Materials (e.g., Sealants, Thermometers, Ice/Frozen Bottles)
Basic materials include:
-
Sealants for waterproofing.
-
Thermometer to monitor temperature.
-
Ice or frozen bottles for cooling.
-
Drainage fittings for easy emptying.
-
Optional chiller units for precision cooling.
3.2 Key Construction Steps and Optional Upgrades
3.2.1 Essential Waterproofing and Drainage Considerations
Plan proper drainage before building.
Include siphons or built-in drains.
Seal all seams carefully to prevent leaks.
Waterproofing saves time and prevents damage.
3.2.2 Adding Chillers, Filtration, and Insulation for Enhanced Performance
Optional upgrades:
-
Chillers for steady low temperatures.
-
Filtration systems to keep water clear.
-
Insulation to reduce ice usage.
-
Lids or covers to keep debris out.
4. Crucial Safety and Maintenance for Your Homemade Cold Plunge
4.1 Electrical and Structural Safety Essentials
4.1.1 The Non-Negotiable Role of GFCI Outlets
Always use GFCI outlets for any electrical connections.
They protect against electric shock in wet environments.
This is essential for freezer conversions.
Don’t cut corners on electrical safety.
4.1.2 Preventing Hazards: Entrapment (Lid Safety), Leaks, and Structural Stability
Secure lids to prevent accidental entrapment.
Check for leaks regularly to avoid flooding.
Ensure your base is level and strong.
Prioritise safety over shortcuts every time.
4.2 Ensuring Water Quality and Safe Usage
4.2.1 Water Sanitation and Regular Cleaning Protocols
Clean water is crucial for safe plunging.
Use chlorine tablets or drain and refill often.
Scrub surfaces to prevent algae and bacteria.
Regular cleaning keeps things hygienic.
4.2.2 Personal Safety Practices: Safe Entry/Exit, Monitoring Water Temperature and Duration, Listening to Your Body
Use steps or stable platforms for safe entry.
Keep water at a safe 10–15 °C.
Start with short dips, building up gradually.
Listen to your body to avoid overexposure.
5. Conclusion and Takeaways
Building your own Cold Plunge is achievable and rewarding.
You can save money and customise it to your space.
But it needs planning, ongoing maintenance and safety measures.
With the right approach, you can create a personal Ice Bath haven at home.
Enjoy the chill and stay safe!


