Ready to turn your space into an Ice Bath paradise? Short answer: Installing your Cold Plunge or Ice Bath Tub is simple—plan, connect, chill, and dip in! Keep reading for an easy step-by-step guide to set up your Cold Plunge Tub safely and smoothly.

1. Pre-Installation Planning: Laying the Foundation for Your Plunge
1.1 Site Selection and Essential Preparations
-
Choose a level, sturdy location for your Cold Plunge.
-
Indoor? Ensure good ventilation to avoid damp.
-
Outdoor? Find shade to keep water cooler and reduce debris.
-
Check your flooring can support a full, heavy tub.
-
Waterproofing is essential for splash protection.
1.2 Electrical Needs
-
Use a GFCI outlet on its own circuit (15A or 20A recommended).
-
This cuts the risk of electric shock in wet areas.
-
Double-check your Cold Plunge’s power requirements before installing.
1.3 Water Access and Drainage
-
Make sure you have an easy-to-reach water source.
-
Plan proper drainage to prevent standing water or mould.
-
Look at built-in drain hoses if included.
2. Step-by-Step Assembly: Connecting Your Cold Plunge System
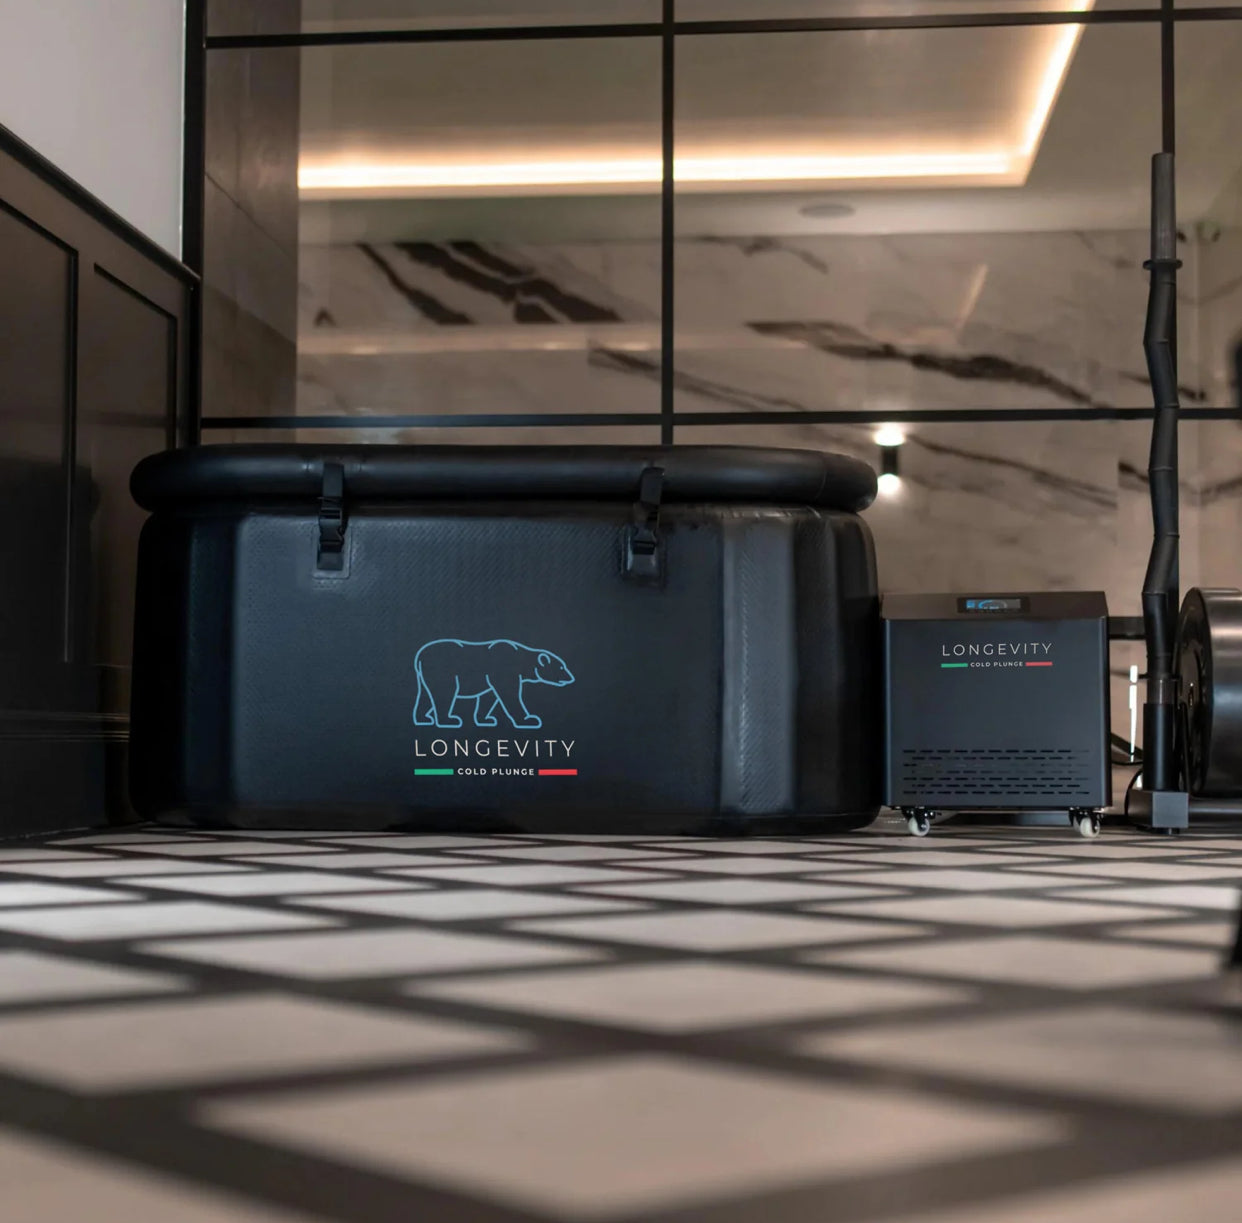
2.1 Unboxing and Positioning
-
Unbox carefully to avoid damage.
-
Place your Cold Plunge Tub and chiller level with enough space around it for airflow.
-
Let the chiller rest unplugged for 4–6 hours before use so the refrigerant can settle.
2.2 Attaching Hoses Securely
-
Connect IN and OUT hoses firmly.
-
Use gaskets or PTFE tape to seal and prevent leaks.
-
Double-check connections for proper flow direction.
2.3 Filling and Powering Up
-
Fill to the recommended water level.
-
Use filtered water if you can.
-
Plug into your GFCI outlet.
-
Check for smooth water circulation without leaks or air pockets.
-
Set your desired temperature and attach any included accessories.
3. Post-Installation Management and Long-Term Care

3.1 Maintaining Water Quality
-
Run the pump for continuous circulation.
-
Regularly skim debris.
-
Wipe down the tub weekly.
-
Use sanitising methods like ozone, UV, or approved chemicals.
3.2 Draining and Winterising
-
Drain fully for deep cleaning or before freezing weather.
-
Follow manufacturer instructions for safe storage in winter.
3.3 Safety and Warranty Best Practices
-
Always use GFCI outlets.
-
Never operate the chiller without water.
-
Ensure good ventilation around the chiller.
-
Check your warranty for exclusions (e.g. freezing damage or incorrect chemical use).
Conclusion
Setting up your Cold Plunge or Ice Bath Tub is straightforward with the right plan. Pick your spot, follow safe setup steps, and enjoy refreshing, effective cold therapy at home.
Takeaways
| Step | Key Point |
|---|---|
| 1. Planning | Choose a stable, ventilated location. |
| 2. Electrical | Use safe GFCI outlets and dedicated circuits. |
| 3. Setup | Seal connections securely and check for leaks. |
| 4. Filling | Use clean water and reach recommended levels. |
| 5. Maintenance | Regularly clean, circulate, and sanitise water. |