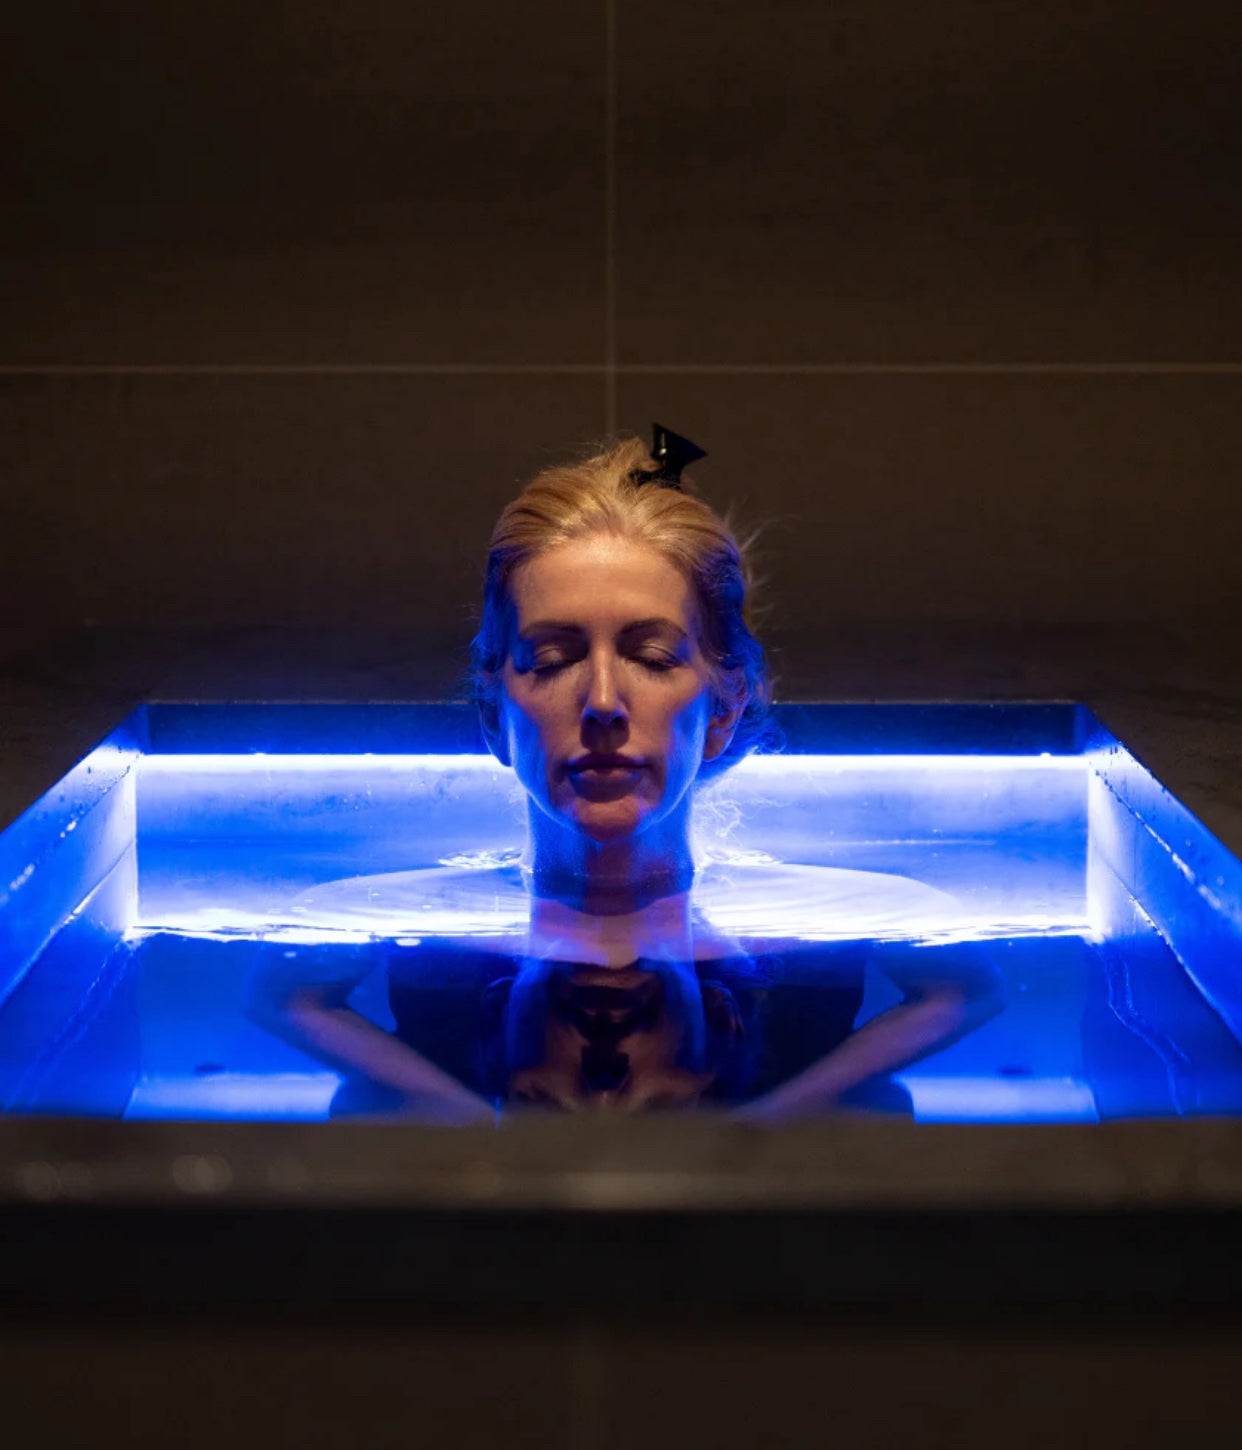
Short answer? It usually takes 2–8 hours for a chiller to cool your Cold Plunge, Ice Bath Tub, or Cold Plunge Tub! Curious why it’s not instant? Dive in to learn what affects cooling speed and how to get that perfect icy soak faster.

2. Initial Cool-Down: What to Expect for Your First Chill
2.1 Typical Timeframes Based on Chiller Power and Tub Volume
Chiller cooling time varies quite a lot.
Generally, you can expect between 2–8 hours to reach your target temperature.
This depends on the tub volume, chiller power, insulation, and starting water temperature.
It’s always smart to plan ahead, especially for your very first session.
2.1.1 Ballpark Hours for Common HP Chillers (e.g., 1/4 HP, 1/2 HP, 1 HP)
-
1/4 HP: Around 5–8 hours for smaller tubs (200–300 L).
-
1/2 HP: Typically 3–5 hours for mid-sized tubs.
-
1 HP+: Usually 2–4 hours, even for larger tubs.
A higher horsepower chiller will cool faster but uses more power.
2.1.2 How Tub Capacity (Gallons/Litres) Impacts Initial Cooling
Bigger tubs naturally take longer to cool.
A 1000 L outdoor tub will need much more time than a 200 L indoor version.
Water volume is one of the biggest factors influencing cooling duration.
2.1.3 From Ambient to Target Temperature: The First Run
On your first cool-down, water often starts at 20 °C or higher.
The chiller has to work harder to bring it down to 10–15 °C.
If the water is warmer, expect it to take longer.
3. Key Factors Influencing Chiller Performance and Cooling Speed

3.1 The Critical Role of Insulation and Ambient Conditions
Good insulation makes a huge difference.
It stops heat creeping back in from the environment.
Outdoor tubs exposed to sun or wind lose cold faster.
A well-insulated Cold Plunge Tub holds temperature with less energy.
3.1.1 How Tub Insulation (Material, Thickness) Affects Efficiency
Thicker, high-quality insulation reduces heat transfer.
This helps keep the water cold for longer and lowers electricity use.
Premium tubs often highlight their insulation as a key benefit.
3.1.2 Impact of Room/Outdoor Temperature and Humidity
Hot weather or high humidity can slow chilling considerably.
The chiller must work harder against ambient heat.
Indoor setups offer more stable, predictable conditions.
3.1.3 Chiller Placement, Ventilation, and Airflow
Your chiller needs proper airflow to stay efficient.
Poor ventilation can cause overheating and slow cooling.
Keep the unit in a well-ventilated space to maintain performance.
3.2 Water Conditions, Chiller Maintenance, and Setup
Clean water and regular maintenance help your chiller run smoothly.
Dirty water or neglected equipment can slow everything down.
Always check filters and coils to avoid unnecessary delays.
3.2.1 Starting Water Temperature and Desired Coldness
The warmer the starting point, the longer the process.
Want your plunge at 5–10 °C? You’ll need extra patience.
Always measure before estimating cooling time.
3.2.2 Effects of Clogged Filters, Dirty Coils, and Low Refrigerant
Blocked filters restrict flow.
Dirty coils can’t release heat properly.
Low refrigerant reduces efficiency and increases cooling time.
3.2.3 Proper Chiller Sizing (HP to BTU/hr) for Your Needs
Match the chiller power to your tub size carefully.
Too small and you’ll wait forever.
Too big can waste energy unnecessarily.
4. Maintaining Consistent Cold: Beyond the First Drop
4.1 How Chillers Keep Your Plunge Ready 24/7
After the first cool-down, your chiller keeps the water cold automatically.
It cycles on and off as needed using a thermostat.
This approach saves energy while maintaining your target temperature.
4.1.1 Thermostat Operation and Intermittent Compressor Cycles
The thermostat senses when the water warms up.
It turns the compressor on only when required.
This helps avoid constant power draw.
4.1.2 Continuous Filtration and Circulation for Temperature Stability
Water is constantly circulated to keep it evenly cold.
Filtration also keeps the water clean and prevents build-up.
Most systems use integrated pumps to handle this process.
4.2 Optimising for Efficiency and Longevity
Running your chiller wisely saves costs and keeps it in top shape.
Small adjustments can make a big difference over time.
Consider seasonal habits and your personal schedule.
4.2.1 Smart Scheduling: When to Run Your Chiller for Best Results
Set your chiller to run overnight when the air is cooler.
This reduces strain and speeds cooling.
Planning sessions during cooler parts of the day helps too.
4.2.2 Minimising Heat Gain to Reduce Chiller Runtime
Use a cover to stop heat and evaporation.
Avoid placing tubs in direct sunlight if possible.
Upgrading insulation can deliver noticeable savings.
4.2.3 Signs Your Chiller Might Need Service or an Upgrade
Long cooling times, loud noises or warm water are warning signs.
Frequent cycling is another red flag.
Don’t wait too long before calling for maintenance.
5. Conclusion
A cold plunge chiller usually needs 2–8 hours to bring your tub to the perfect temperature. Insulation, chiller power, ambient conditions and maintenance all make a difference. With the right setup and a bit of planning, you’ll keep your Cold Plunge, Ice Bath Tub or Cold Plunge Tub reliably icy whenever you like.


