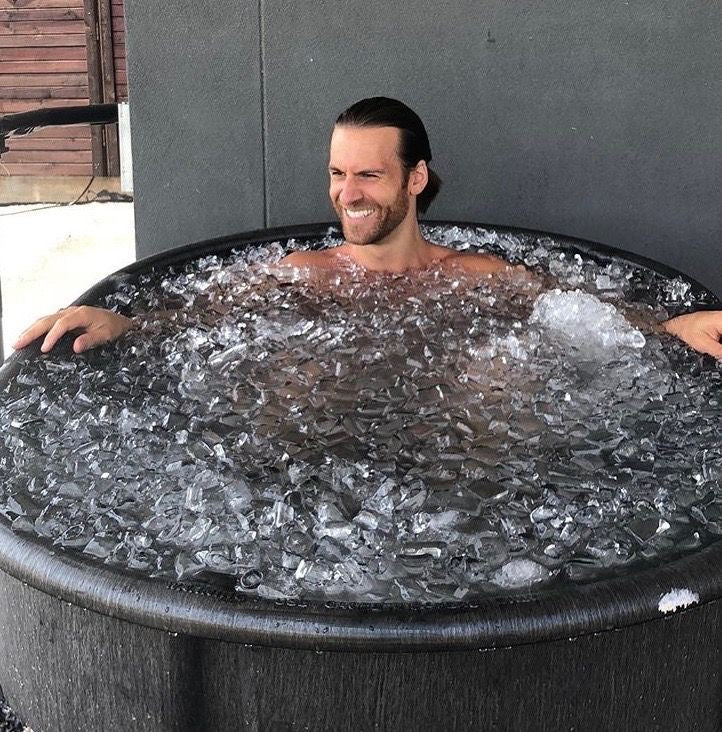
Dreaming of the perfect Ice Bath but not sure if you need a few cubes or a glacier? Short answer: around 10–30 kg of ice for most Cold Plunge Tubs. Keep reading to learn how to nail your Cold Plunge setup and make your Ice Bath Tub refreshingly spot-on!

Understanding the Variables: What Affects Your Ice Needs?
1. Key Factors Determining Ice Quantity
-
Cold Plunge Volume and Dimensions
The size of your Cold Plunge Tub or Ice Bath Tub has the biggest influence.
A standard bathtub holds about 150–200 litres of water, while stock tanks or dedicated plunge tubs vary from 200–500+ litres.
Bigger tubs = more ice needed. -
Starting Water Temperature vs. Desired Target Temperature
Measure your tap water temperature first.
If it’s already 20 °C and you want 10 °C, you need more ice than if your starting point is cooler.
The greater the temperature drop needed, the higher the ice requirement. -
Impact of Ambient Air Temperature and Tub Insulation
Outdoor or warm rooms increase ice melt rates.
Using covers and insulating materials helps keep the water colder for longer.
Consider shade or sheltered areas to slow ice loss and maintain chill.
Practical Approaches to Icing Your Cold Plunge
2. General Guidelines and Calculation Methods
-
Initial Ice Recommendations for Common Cold Plunge Setups
A good starting point is 10–15 kg of ice for a standard bathtub (150–200 L).
For larger tubs, 20–30 kg may be necessary.
Always adjust based on your starting and target temperatures. -
Understanding the 1:3 Ice-to-Water Volume Ratio
As a rule of thumb, use 1 part ice to 3 parts water for significant cooling.
It’s not exact science but offers a simple guide for most setups. -
How Ice Bath Calculators Simplify the Process
Online calculators help you input volume and temperature targets.
They use formulas accounting for latent heat of fusion and specific heat capacity to estimate required ice.
A handy tool if you want a more precise approach.
3. Ice Types and Efficient Application Techniques
-
Benefits of Ice Cubes vs. Large Ice Blocks
Cubes melt faster and chill quickly but may require more frequent topping up.
Large blocks last longer and melt slowly for sustained cooling.
Mixing both can be effective for flexible temperature management. -
Tips for Effective Ice Addition and Water Stirring
Add ice gradually to avoid overcooling.
Stir water gently to distribute cold evenly.
Monitor with a thermometer to maintain your target range.
Optimising Your Ice Plunge Experience and Future Solutions

4. Essential Tools and Best Practices for Consistent Temperature
-
The Importance of a Reliable Water Thermometer
Always track your Cold Plunge Tub temperature to avoid extremes.
Helps maintain consistent and safe chilling. -
Gradually Adding Ice and Monitoring Temperature
Don’t dump all your ice at once.
Add in stages, stir, and check the temperature to fine-tune.
This prevents waste and overshooting your target chill. -
Pre-Chilling Water and Other Efficiency Tips
Store water in cool spaces before filling the tub.
Use insulated covers to retain temperature between sessions.
Consider scheduling sessions during cooler parts of the day.
5. When to Explore Alternatives for Cold Plunge Cooling
-
The Convenience and Long-Term Cost-Effectiveness of Dedicated Water Chillers
Chillers automate temperature control and reduce daily ice needs.
Higher upfront cost but lower running hassle and ongoing ice expense.
Ideal for regular plungers. -
DIY Solutions for Automated Temperature Control
Chest freezer conversions or pump-and-chiller systems offer creative, budget-friendly alternatives.
Ensure waterproofing and safety features to prevent accidents.
These setups deliver reliable cold exposure without constant ice runs.
Takeaways
-
Plan your ice needs based on tub size and starting temperature.
-
Aim for 10–30 kg of ice for most home plunges.
-
Use insulation, gradual additions, and consider chillers for efficiency.
-
Stay consistent and safe to maximise benefits!