Thinking about turning your garden or bathroom into your personal Ice Bath Tub oasis? Short answer: Installing a Cold Plunge or Cold Plunge Tub at home is easier than it sounds – and yes, your future ice bath awaits. Keep reading for simple steps, clever tips, and everything you need to chill like a pro.

Preparing for Your Cold Plunge Installation
Choosing the Ideal Location for Your Cold Plunge
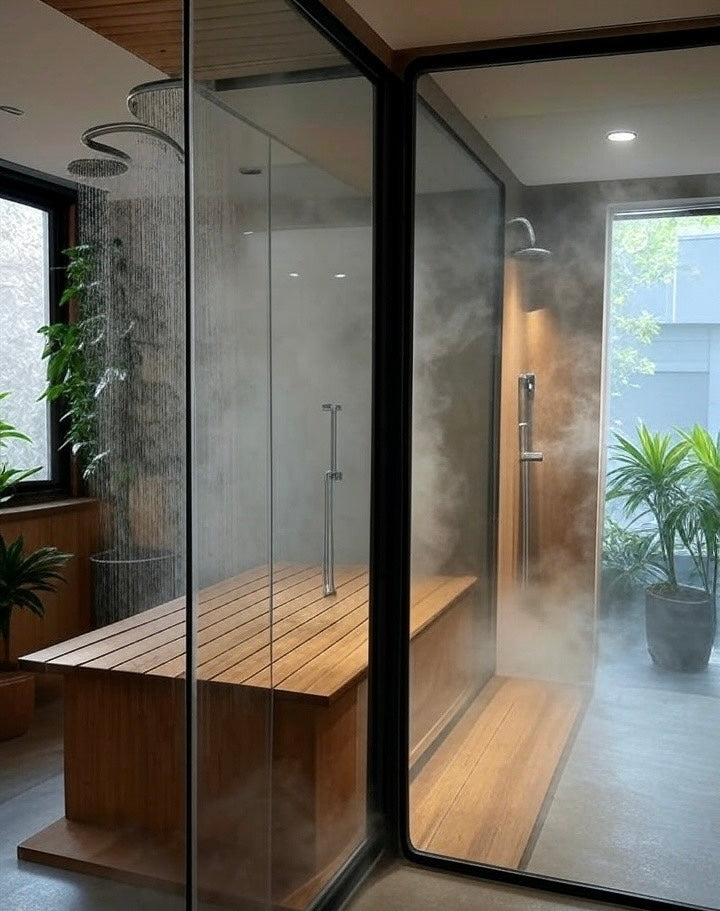
Indoor vs. Outdoor Placement Considerations
Decide whether your Cold Plunge Tub will live indoors or outdoors.
Outdoors offers fresh air and space but needs protection from extreme weather. Indoors gives you more control, but ensure there's proper drainage and ventilation.
Either way, proximity to a power source and water supply matters.
Surface Requirements and Weight Bearing
A full Cold Plunge can be heavy – sometimes over 300kg.
Ensure the surface is flat, level, and strong enough to support the filled tub. Decking, patios, or concrete floors are usually suitable, but double-check weight capacity.
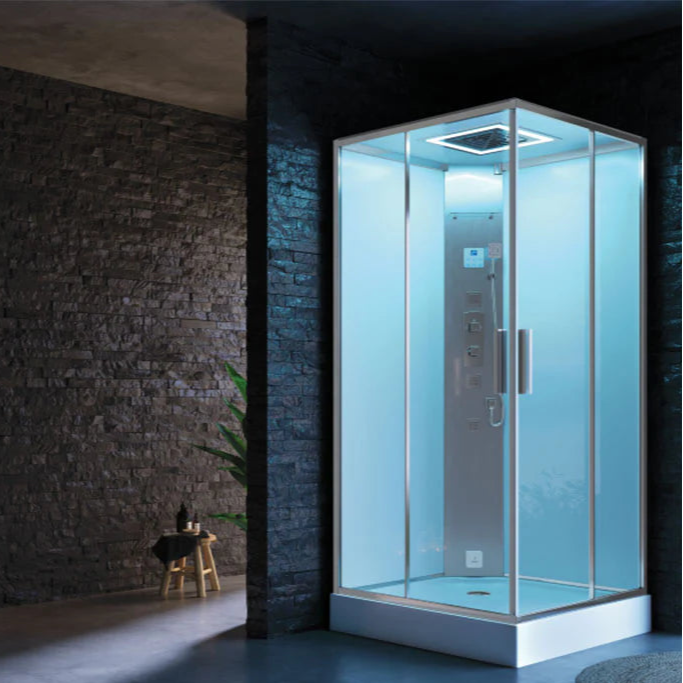
Ventilation Needs and Chiller Placement
Chillers need airflow.
If placing indoors, choose a space with good ventilation.
Keep your chiller in a dry, well-aerated area and avoid cramming it into cupboards or tight spaces.
Proper ventilation helps the system work efficiently.
Essential Pre-Installation Checks and Requirements
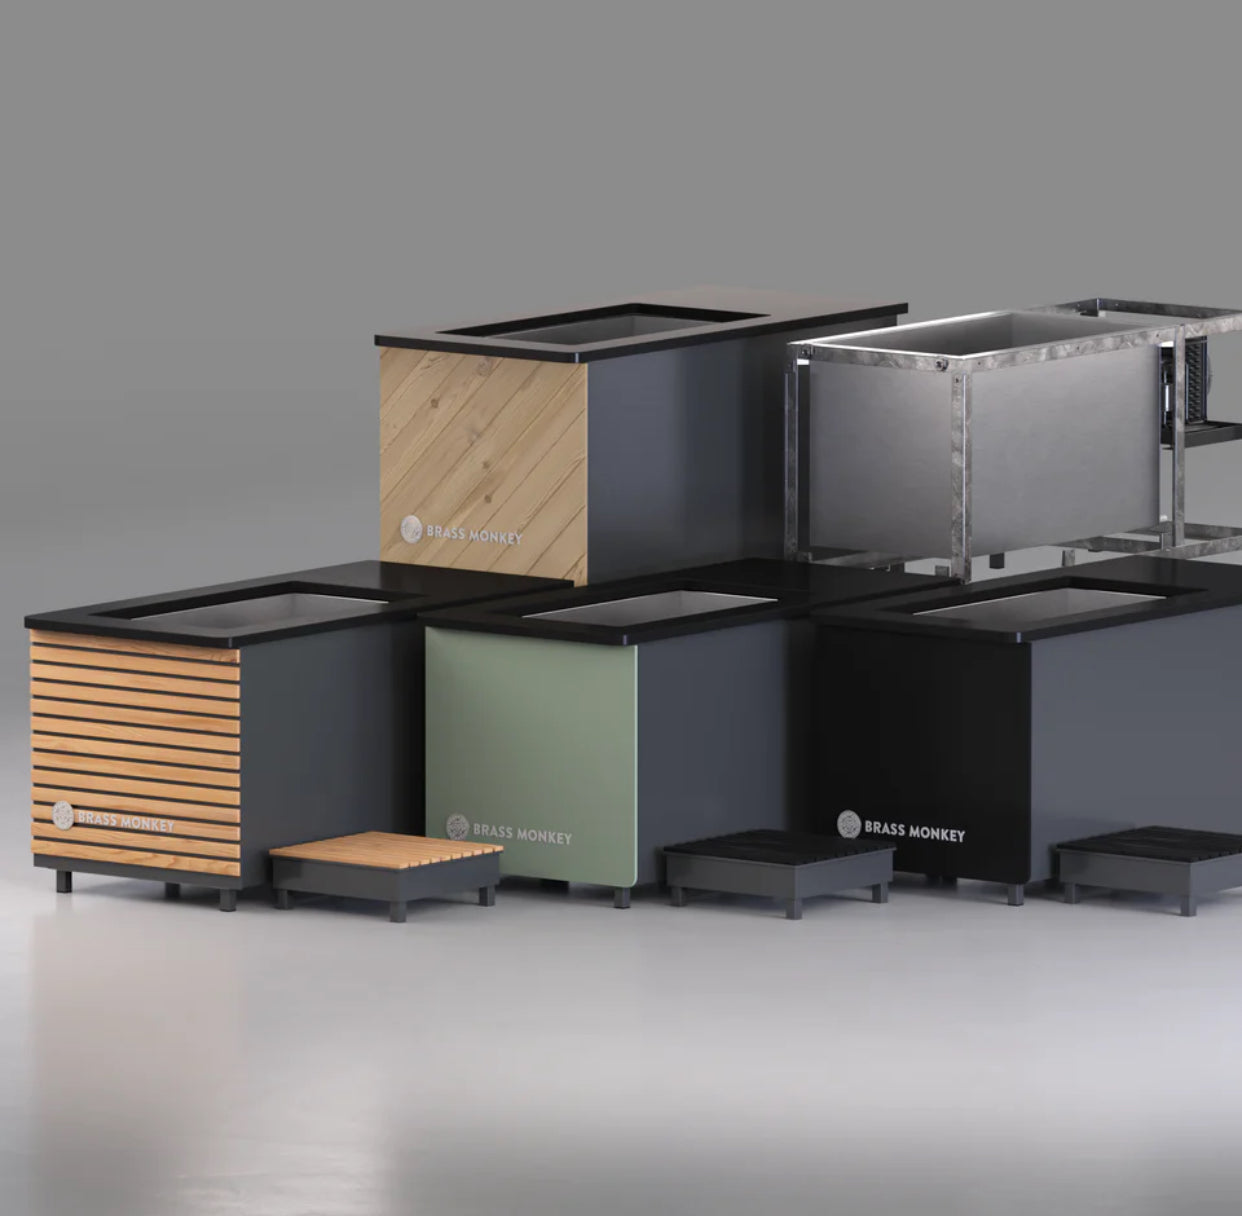
Understanding Dimensions and Tub Capacity
Measure your space carefully.
Check the plunge tub’s dimensions, accounting for extra room to access pumps or drain valves.
Know the water capacity to estimate fill time and load-bearing.
Electrical Specifications and GFCI Outlets
Cold Plunge systems often require a dedicated GFCI-protected power outlet.
Most units operate on standard voltage (UK 220–240V), but confirm the specs before plugging in.
Never use extension cords.
Hire a qualified electrician if needed.
Necessary Tools and Supplies
Basic DIY tools are typically enough:
-
Adjustable spanner
-
Screwdriver set
-
Hose or water supply
-
Spirit level
-
Electrical access
Some plunges may need plumbing tape or silicone sealant.
Check the manufacturer’s list.
Step-by-Step Cold Plunge Setup Guide

The Installation Process: From Unboxing to First Plunge
Unpacking and Component Identification
Start by unboxing all parts and checking against the instruction manual.
Lay out each component: tub, pump, chiller, hoses, and fittings.
This step avoids surprises mid-setup.
Plumbing Connections (Pump, Filter, Chiller)
Connect the water pump and filter first, followed by the chiller.
Ensure all hoses are secure and properly clamped.
Follow flow direction indicators to avoid reverse pressure.
Filling the Plunge and Initial Water Circulation
Use a clean hose to fill the tub.
Once full, turn on the pump and allow water to circulate.
Check for leaks and ensure even flow throughout the system.
Let it run for a few minutes before chilling.
Powering On and Setting the Desired Temperature
Plug in the chiller and power it on.
Most units let you set a specific temperature—common settings range from 4°C to 10°C.
Give it time to cool, especially on the first cycle.
Maintaining Your Cold Plunge for Longevity and Hygiene
Ongoing Water Care and Cleaning Regimen
Daily and Weekly Maintenance Tips (Skimming, Wiping)
Skim debris daily and wipe down surfaces every few days.
This prevents build-up and keeps your Ice Bath Tub inviting.
Check for signs of dirt or residue and address it early.
Water Chemistry and Sanitisation (pH, Chemicals, UV/Ozone)
Test pH and chlorine or bromine levels regularly.
Use sanitising agents or a UV/Ozone system to kill bacteria.
Maintaining water chemistry protects both your skin and your equipment.
Filter Cleaning and Replacement
Filters should be cleaned weekly and replaced as recommended—typically every 1–3 months.
Rinse under warm water to remove gunk.
A clean filter supports proper flow and cooling performance.
Troubleshooting Common Installation and Maintenance Issues
Addressing Leaks and Obstructions
Tighten hose clamps and check connections if you spot a leak.
Look for cracks or worn seals.
If water isn't flowing, inspect for blockages or air bubbles.
Managing Water Cloudiness or Odour
Cloudy water often means poor chemical balance or a dirty filter.
Shocking the water or draining and refilling might help.
Odours usually signal bacteria—clean and sanitise thoroughly.
Chiller Care and Optimal Performance
Clean the chiller vents monthly and avoid covering the unit.
If it’s underperforming, check the ambient temperature and clear dust buildup.
Annual servicing can extend its lifespan.
Takeaways
-
Cold Plunge installation is manageable with a little prep and the right tools
-
Choose a suitable location and follow manufacturer guidelines
-
Keep water clean and systems running smoothly with regular care
-
Efficient setup = more relaxing Ice Bath Tub sessions for you.