You can transform your bathroom into a Cold Plunge paradise with an Ice Bath Tub or Cold Plunge Tub. It’s easier than you think! Dive in for budget-friendly tips and practical steps to make your own freezing oasis at home.
2. Why Cold Plunge at Home?

2.1 Benefits of Cold Water Immersion
Cold plunging offers impressive recovery benefits.
It reduces muscle soreness and inflammation, helping you bounce back faster.
Regular use also boosts circulation, immune response, and stress resilience.
You’ll enjoy these perks in the comfort of home without expensive spa trips.
2.2 Is a Home Setup Right for You?
A home Cold Plunge is perfect if you want flexibility and savings.
You can choose your temperature, duration, and maintenance schedule.
Just be realistic about the space you have and your commitment to upkeep.
Whether it’s an Ice Bath Tub or advanced Cold Plunge Tub, there’s a setup for every budget.
3. Choosing Your Cold Plunge Setup: Options for Every Budget
3.1 The Beginner-Friendly Ice Bath (Simple & Affordable)
3.1.1 What You'll Need (Bathtub, Ice, Thermometer, Timer)
-
A regular bathtub or large container
-
Bags of ice
-
Water thermometer
-
Timer for safe immersion
3.1.2 Step-by-Step Guide for a Basic Ice Bath
Clean the tub thoroughly.
Fill halfway with cold tap water.
Add ice gradually until the desired temperature is reached.
Use the thermometer to ensure it stays safe, and set a timer before getting in.
3.1.3 Achieving Optimal Temperature with Ice
Aim for 10–15 °C (50–59 °F) as a starting point.
Colder water is more intense and not always better for beginners.
Monitor carefully to avoid overcooling.
3.2 DIY Cold Plunge Solutions (Intermediate to Advanced)
3.2.1 Repurposing a Chest Freezer
Seal the interior to prevent leaks.
Fill with water and chill using the freezer's thermostat.
Always unplug before getting in to maintain safety.
3.2.2 Stock Tank or Barrel Cold Plunge
Simple, cost-effective farm tanks work well.
Easy to fill and drain, with or without chillers.
Great for outdoor setups.
3.2.3 Insulated Cooler Setups
Smaller, highly portable, and excellent for single users.
They hold the cold for longer and are easy to clean.
3.2.4 Essential Components for DIY Builds (Pumps, Filters, Chillers)
-
Pumps for circulation
-
Filters to keep water clear
-
Chillers for consistent, precise temperatures
3.3 Portable and Pre-Built Cold Plunges (Convenience Options)
3.3.1 Inflatable Cold Plunge Tubs
Lightweight and easy to pack away.
Perfect for small spaces or travel.
Quick to fill and drain.
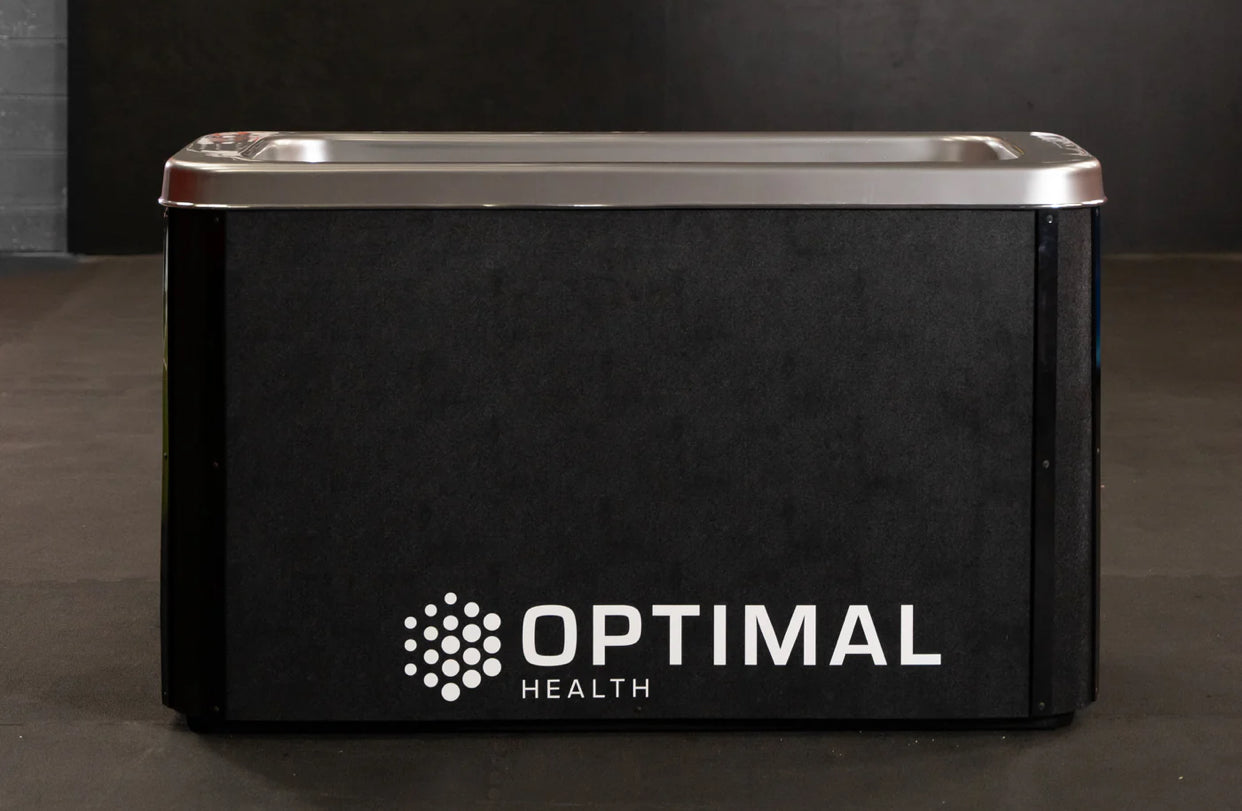
3.3.2 Commercial Cold Plunge Units
Premium, ready-to-use systems.
Integrated chillers maintain your chosen temperature.
Minimal setup with maximum convenience.
4. Setting Up Your Home Cold Plunge: A Step-by-Step Guide

4.1 Preparing Your Space
4.1.1 Indoor vs. Outdoor Considerations
Indoors: year-round use, privacy, but limited space.
Outdoors: natural drainage and room to spread out, but exposure to debris.
4.1.2 Flooring and Ventilation
Use slip-resistant flooring for safety.
Ensure good airflow to prevent mould or odours.
4.1.3 Plumbing and Electrical Needs (for advanced setups)
Plan for safe drainage.
Use waterproof outlets and consult professionals for installation.
4.2 Assembly and Filling
4.2.1 Step-by-Step Instructions for Your Chosen Setup
Secure the tub or container.
Install pumps and filters if required.
Fill with clean water and add ice or activate the chiller.
4.2.2 Water Quality and Initial Fill
Use filtered water if possible.
Test pH and sanitiser levels for longer-term use.
4.3 Maintaining Your Cold Plunge
4.3.1 Water Filtration and Sanitisation
Inline filters or external systems help keep water clear.
Use ozone, UV, or mild sanitisers to maintain hygiene.
4.3.2 Regular Cleaning Practices
Skim debris daily.
Wipe down the interior to reduce residue.
4.3.3 When to Change Water
For heavy use or multiple users, change weekly.
Otherwise, aim for every 2–4 weeks.
5. Cold Plunge Best Practices and Safety
5.1 Ideal Temperatures and Duration
5.1.1 Finding Your Optimal Temperature
Beginners should start at 10–15 °C.
Advanced users may prefer 4–10 °C.
5.1.2 Recommended Immersion Times
Start with 2–3 minutes.
Increase slowly to 5–10 minutes as tolerated.
5.2 Important Safety Considerations
5.2.1 Consulting a Healthcare Professional
Essential for those with cardiovascular or other health conditions.
5.2.2 Never Plunge Alone
Always have someone nearby in case of emergency.
5.2.3 Listening to Your Body
Get out immediately if you feel dizzy, numb, or unwell.
5.3 Enhancing Your Cold Plunge Experience
5.3.1 Breathing Techniques
Practice slow, steady breathing to stay calm.
5.3.2 Warming Up Post-Plunge
Dry off thoroughly.
Layer warm clothes and sip a hot drink.
6. Conclusion
Setting up a Cold Plunge at home is more accessible than you might think.
From a basic Ice Bath Tub to a high-end Cold Plunge Tub, there’s a solution for every budget.
With the right preparation and safety measures, you’ll enjoy all the benefits of cold immersion without leaving home.
7. Takeaways
-
Choose the setup that suits your budget and space.
-
Prioritise safety with the right temperature and supervision.
-
Maintain clean, sanitised water for an enjoyable experience.


